
Click to Skip Ahead
A horse’s hooves will grow continuously, making regular hoof trimming a crucial part of your horse’s care. If hooves are left untrimmed, they can easily become overgrown, misshapen, and unbalanced, which can lead to pain, discomfort, lameness, and even long-term damage to the hoof.
It’s always a good idea to have a professional farrier on standby for your horse’s foot care needs, but in some cases, horse owners may choose to do the more simple, routine trimmings on their own. Veterinarians will usually recommend the use of a trained farrier for all hoof care. Because of how important it is to maintain proper hoof balance, you can’t just dive in without any knowledge or experience, so here are 10 easy steps that will walk you through the process.
Dr. Lorna Whittemore (BVMS, GPcertFelp) of Pet Keen says, “I would strongly recommend that only a trained farrier attempt hoof trimming. It is a highly skilled job and the importance of foot balance on the health and comfort of a horse should not be underestimated.”
The 10 Steps to Trimming a Horse’s Hooves
1. Learn the Anatomy of the Hoof
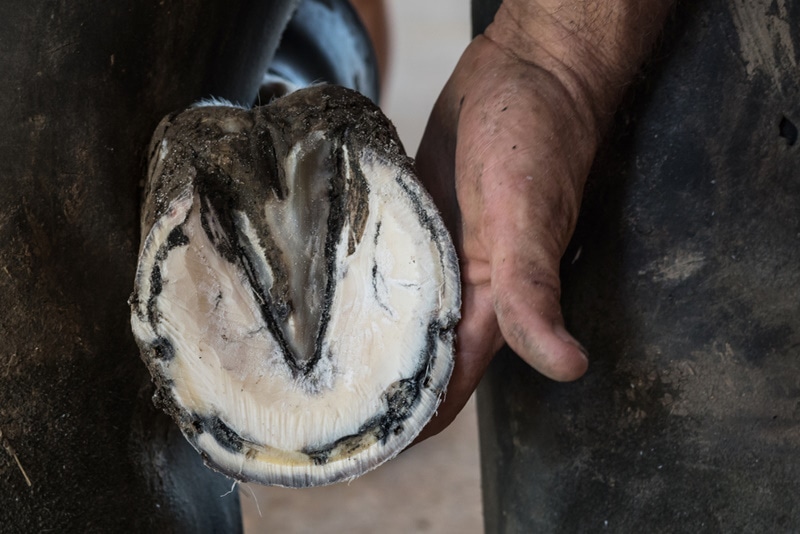
Before you try to trim your horses’ hooves on your own, you need to make sure that you know all about the anatomy of the hooves so that you can get the job done safely and correctly. Your goal for trimming is to maintain proper functionality of the foot and ensure both the hooves and limbs remain sound.
Poorly trimmed feet can result in chipping, flaring, and defects within the hoof, making it more difficult for your horse to bear its own weight properly. So, brush up on that anatomy before you ever consider doing this job yourself. If you are new to trimming, consider taking a course or learning and practicing alongside a professional before trying it on your own.
2. Gather All Your Tools
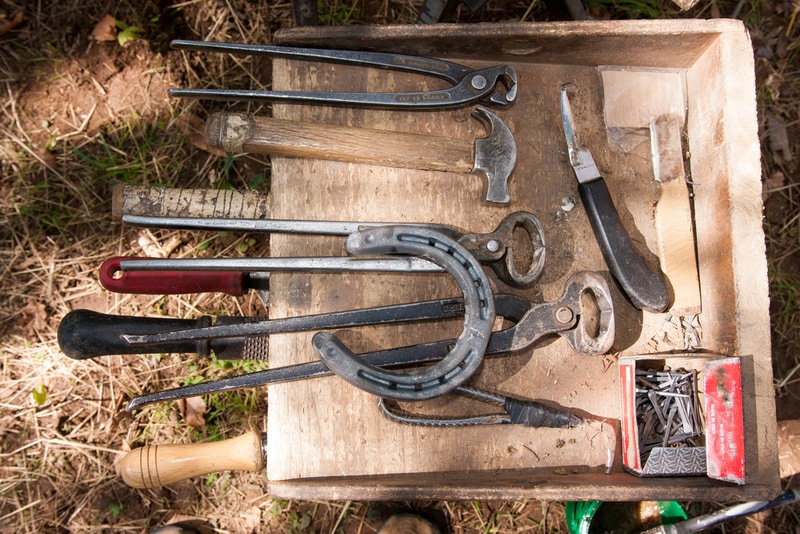
You will want to make sure all your tools are easily accessible before you start trimming. Once you get started, you won’t want to break your rhythm by having to pause and gather more equipment, so keep it all together and within your reach.
Each tool has a different purpose but each one will be necessary to get the job done right, so make sure you have each of the following ready:
3. Clean the Hooves
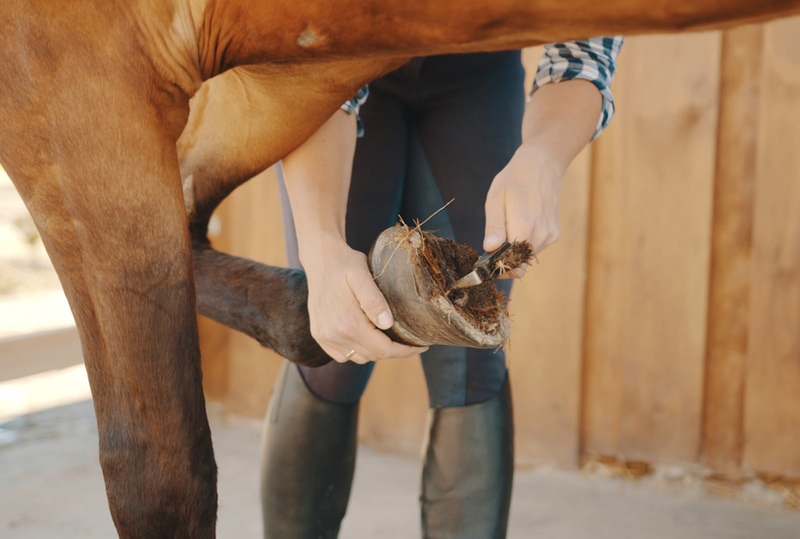
Before you get started with the trimming, you need to make sure the hooves are clean. This will allow you to view the hoof as is, without any dirt or debris obstructing your view. You can use both the hoof pick and hoof knife for this part, and make sure you use one hand to hold the hoof and the other hand to clean it out.
4. Soak the Hooves
Just like with human toenails, it’s much easier and often more comfortable to trim when soft. A hard, dry hoof will be much more difficult to trim, so it’s recommended that you soak all four hooves in lukewarm water for about 15 minutes.
Some horses won’t take too well to soaking, and if that’s the case you should consider using a spray bottle to mist each hoof as you trim it. You may want to consider teaching your horse that it’s okay to soak their hooves for a few minutes before you ever attempt trimming, just to get them used to it.
5. Determine How Much Needs Trimming
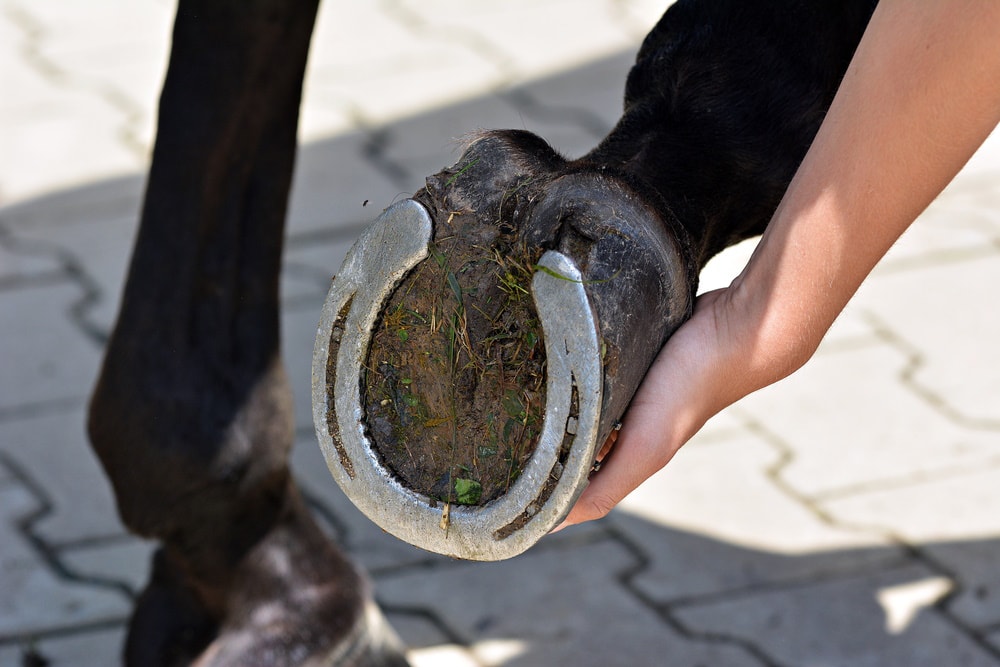
Once your horse’s hooves have been cleaned and soaked, you will have a much better view of the hoof, allowing you to assess what needs to be done and how to best go about the process. Each hoof is unique, so take your time and look it over thoroughly before each trim job.
Check for any cracks that need trimming, look at the length of the front of the hoof, and check the outside hoof wall to see if it is uneven or asymmetrical. If you are uncertain about how much you should be trimming, it’s best to always trim less to prevent injuring your horse. If you trim off too much of the hoof, it will be painful and cause a lot of discomfort.
If at any point you are unsure of what to do, or how to properly trim, you should contact a professional farrier to come out.
6. Get in a Comfortable Position
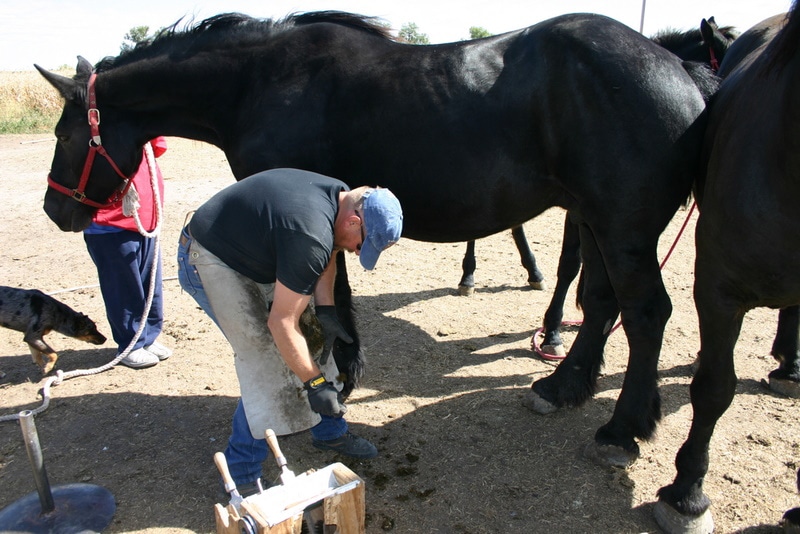
Both you and your horse will need to be in a comfortable position as you’re trimming. You don’t want to hurt your back or end up straining yourself too much during the process. You also want to make sure your horse’s hoof is level and in an anatomically correct position as you work.
You must have full control over the hoof to ensure you are trimming evenly and shaping it correctly. You can use a hoof jack to help with this part of the process. When lifting their legs, make sure you bend it naturally at the joint and make sure your horse is comfortable. If your horse is refusing to cooperate, don’t try to lift the hoof. Safety needs to be your top priority.
7. Start Trimming
The hoof nippers are the primary tool for trimming, as they will remove any excess length of the outer hoof wall. You simply place them on any overgrown areas of the outer hoof wall, clamp them down and slowly trim away those lengthy areas. Always trim the front of the hoof at a 45-degree angle to prevent sharp edges.
8. Use Your Rasp
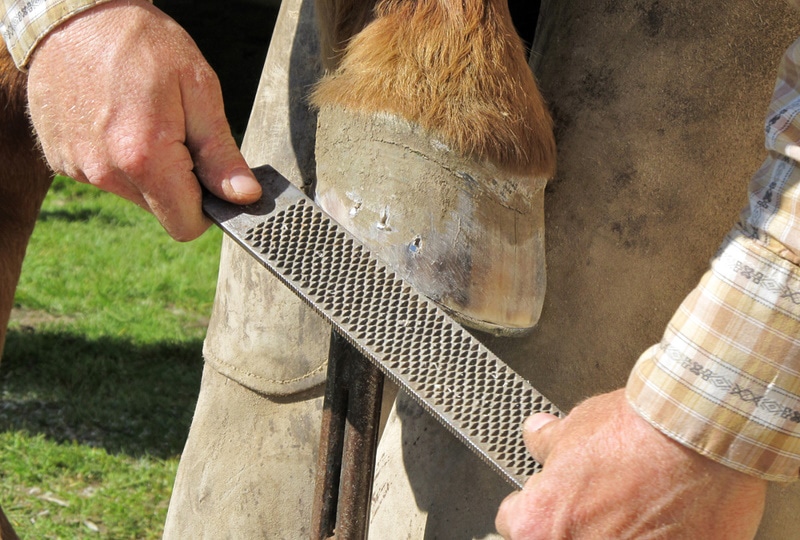
Once you’ve finished trimming with the nippers, move along to the rasp to make sure the outer walls of the hooves are smooth and level. The rasp is like a nail file, though it’s made of steel so it’s strong enough to handle large hooves. Use the rasp at a shallow angle to prevent injury, and perform short, flat strokes to file down any rough spots or areas that the nippers couldn’t trim. Never rasp both heels at once because this can easily cause unevenness.
9. Trim the Sole
The pressure of your horse’s weight needs to remain on the outer wall of the hoof and not the inner sole. So, once the outer walls are leveled with the rasp, you need to trim the sole to ensure it remains below the outer wall. Never trim live tissue (which is stretchy), as this could injure your horse. Limit your trimming to the dead, flaked tissue of the sole.
10. Check the Hooves
Always do a final check when you’ve finished trimming and leveling the hooves. This will help you ensure that you didn’t miss anything on all four hooves. Check each hoof for proper symmetry; make sure they are even on all sides and that the outer hoof wall is flat.
The Importance of Proper Hoof Care
Horses with properly balanced hooves will move better, and put less stress and strain on the bones, tendons, and ligaments. Horses rely on their hooves for both bodily support and proper mobility. If any issues arise, it can result in lameness, pain, and sometimes long-term or permanent damage.
Regardless of whether you plan to maintain your horse’s hooves, or have a professional farrier do the job, it is very important that it gets done for the sake of your horse’s health, comfort, and longevity.
Know When to Call a Farrier
In some cases, it may be best to bring in a professional to handle your horse’s hooves. Not only can it significantly reduce the risk of pain or injury to your horse, but it will also help you ensure the job is done correctly.
Know When to Call a Veterinarian
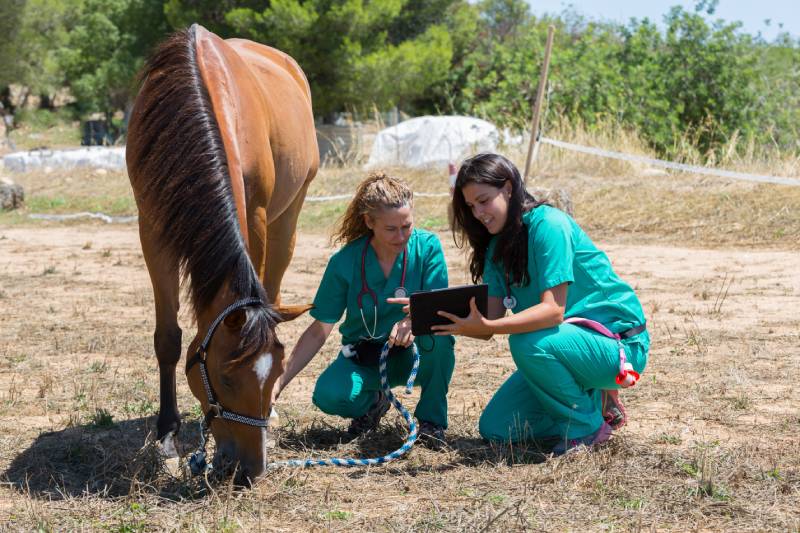
There will be some circumstances in which a veterinarian should be called out to examine your horse. Knowing the difference between what warrants a farrier and what warrants a visit with the veterinarian can have a significant effect on the overall outcome of the situation.
Contact a veterinarian if your horse is experiencing:
Tips for Maintaining Healthy Hooves
Maintaining healthy hooves is important for your horse’s overall health. There’s a lot that goes into proper hoof care, so here are some tips for helping your horse maintain the healthiest hooves possible.
Conclusion
There’s a lot that goes into trimming horse hooves, so anyone wanting to give it a shot should brush up on their knowledge and know what steps to take during the process. Anyone that is inexperienced or unsure of how to get the job done right should reach out to a professional farrier for assistance. In addition, if the case is severe or there are any signs of trauma or lameness, you should be prepared to contact your veterinarian for an exam of your horse.
Featured Image Credit: David Herraez Calzada, Shutterstock
The post How to Trim Horse Hooves in 10 Easy Steps appeared first on Pet Keen.
